The Challenge
You’ve probably heard the expression, “Data is the new oil”. That’s because data is at the heart of any business decision system of any organization. However, the data you need isn’t always located in only one place, like a regular and vanilla RDBMS. Normally, it is scattered across different RDBMS and other data silos.
So, it is not uncommon to come across situations where data is sitting across all kinds of different sources and the DBA or data engineer needs to implement a solution that pulls all relevant data into a centralized location for further analysis.
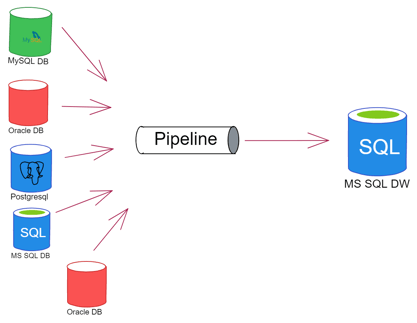
Picture 1: The many possible data sources
Recently, one of our customers had sales data in an AWS Postgres RDS Instance and needed that data (a set of tables to be more precise) to be replicated (almost in real time) into some tables in their Azure VM with MS SQL Server. Unfortunately, the heterogeneous replication is marked as deprecated and it only works between SQL Server and Oracle. No Postgres allowed in the batch. Moreover, there’s no native heterogeneous replication on the Postgres side. This can only be achieved with the use of third-party tools or manually in HIGH effort mode, creating a CDC (change data capture) mechanism by using triggers and then pulling data from control tables.
It sounded fun to implement, but time was of the essence. Developing such a solution would take quite some time.
In short, another solution had to be used to achieve the required data movement.
A possible solution
Picture 1 shows a possible scenario but doesn’t show the solution as in which tool could be used as the pipeline. The Big Data scenario has many tools that could perhaps achieve this, but none of them had the advantages that Kafka offered.
Originally, Apache Kafka was designed to be a message queue like app (remember IBM MQ Series or even SQL Server Service Broker?). The best definition of what it is can be quoted from Confluent: “Apache Kafka is a community distributed event streaming technology capable of handling trillions of events a day”. From a DBA’s mind: “Well, streaming must be like replication, but massive!” That is accurate, but a streaming system needs to have the ability to ingest data from many different data sources and deliver its messages on a variety of data endpoints as well.
We could choose from many tools to achieve this, Azure Event Hubs or AWS Kinesis or even the Kafka managed in Confluent Cloud. However, for the sake of learning how things work under the hood and since they all come from similar backgrounds (which is the Apache Kafka open-source code) or have the same goal we decided to show the customer how to set up the environment from ground zero without any managed services for the stream processing.
So, the previous picture would look something like this:
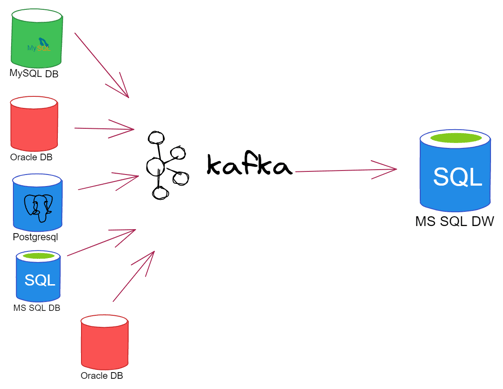
Picture 2: Using Kafka to handle many sources and deliver the message to one (or many) destinations
As a brief introduction, the basic Apache Kafka components are:
- Message: The smallest data unit in Kafka, from a DBA perspective, a message is a row in a db table. As far as Kafka is concerned, a message is an array of bytes.
- Schema: A structure that accompanies messages, so they can be understood by the consuming applications.
- Topics: Messages are categorized into Topics. In the DBA world, that would be the equivalent to a table. Messages are read in order from start to finish in an append-only manner.
- Producers and consumers: Remember SQL Server Replication publishers and subscribers? The idea is very similar here, however, Kafka has the ability to handle multiple producers and consumers at the same time.
- Brokers and clusters: A single Kafka server is a “broker”. It receives messages from the producers, writes an offset to them and persists them on disk. It will also serve consumers as they request for messages. Generally speaking, in a production environment, brokers are part of a cluster
- Connectors: Apache Kafka has many connectors for handling consumers and producers (that could be of the sink type). A wide variety of connectors is available either free of charge or for purchase. You will find most of them in the Confluent web page (https://www.confluent.io/product/confluent-connectors).
In conclusion, Kafka is the tool of choice for that task and we’re going to create the entire environment for the data movement from scratch. For more information, access here: https://kafka.apache.org/documentation.
The architecture
In order to achieve the streaming functionality and see the data flow in action we will use a set of tables from PostgreSQL DB as source, a set of tables from SQL Server as destination and Apache Kafka will act as the “replication mechanism”. To connect to Postgres and detect its data changes (CDC) a connector plugin is also needed. In this case we will use Debezium as it is also open-source and built from the ground up to work with Kafka as easily as possible.
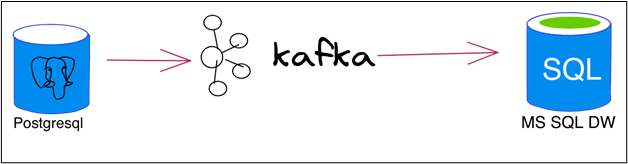
Picture 3: Moving data from Postgres to MS SQL in a nutshell
Diving a bit more into details, at the end of this blog post series we should have:
- a Linux VM that has a Postgresql instance and the Kafka binaries ideally with internet connectivity(we will use the Confluent Cli to make the deployment a bit less complicated). Debezium for Postgres will also be installed in this VM.
- A Windows VM (or a local) with a MS SQL SERVER Instance.
Therefore, our architecture should look a little bit more like Picture 4.
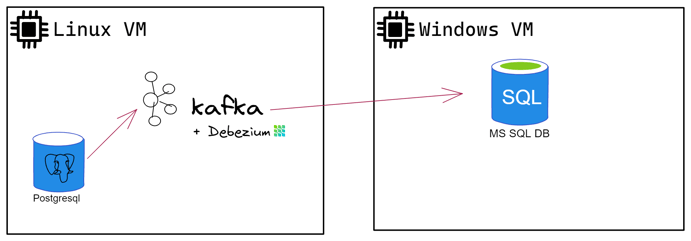
Picture 4: Detailing the architecture
Bear in mind that in order to achieve the required goal (replicate data from Postgres into SQL Server using Kafka) we could simply use a Kafka-as-a-service product in any of the major cloud providers. However, in order to fully understand how the architecture operates and simply as a showcase we decided to not use any SaaS related product, nor Docker in this series. You may find a new series in this Blog in the near future that contemplates Cloud Services. With expectations set, We’re ready to proceed.
Getting our hands dirty
Let’s begin by installing our first VM. I’m using a Windows PC to do all my testing, so I’m creating the VM in Hyper-V. Feel free to use whichever hypervisor you prefer. My choice for OS is Red Hat Developer edition 8.5. You will need to subscribe to the Red Hat Portal: https://developers.redhat.com/products/rhel/overview.
- In my case I’ll create a VM called Jupiter to act as our Postgres and Kafka server.
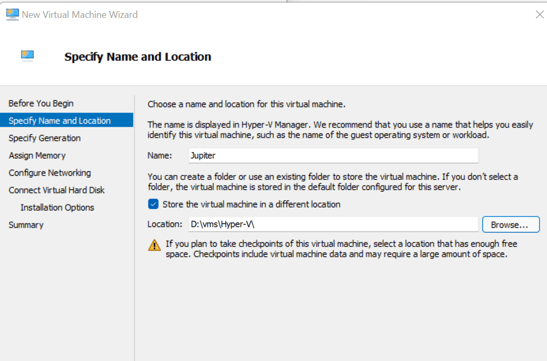
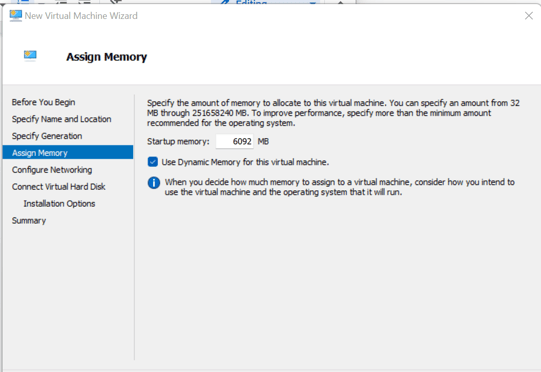
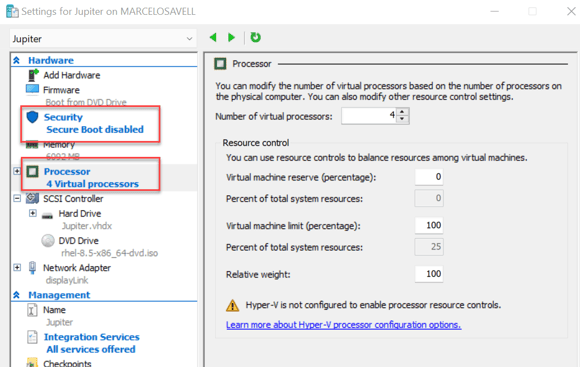
- It will be a Generation 2 as far as Hyper-V is concerned. Make sure to allocate enough memory so you can test properly. I’m setting mine to about 6 GB – dynamic, meaning Hyper-V won’t dedicate that memory entirely to the VM.
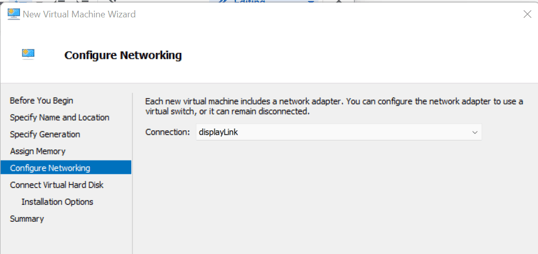
- For networking, I’m adding a virtual ethernet adapter that is attached to the physical nic of the host, meaning your wifi router will assign an IP address directly to the VM.
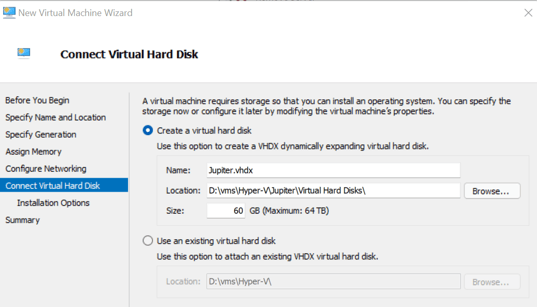
- For a small data sample, 60 GB of disk space is more than enough.
- Attach the Red Hat iso so that you can install the OS shortly.
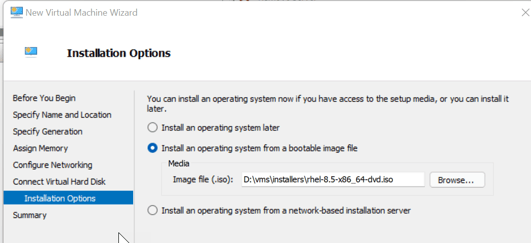
- Make sure you set a reasonable amount of virtual cpus and disable Secure Boot for now.
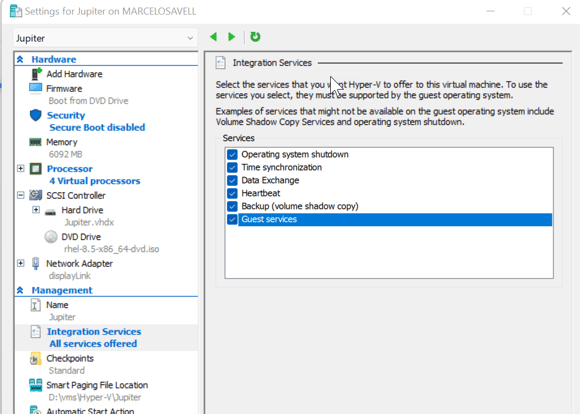
- Enable all Guest Services.
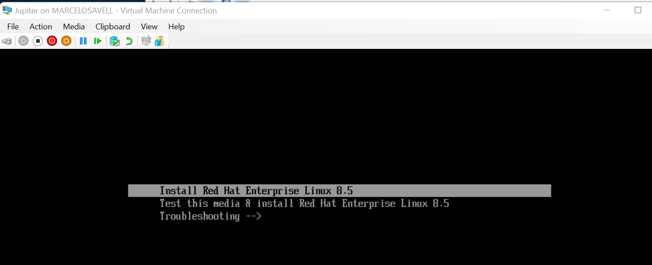
- Let’s install the OS, Start the VM, select its console window and hit any key so the Install process starts.
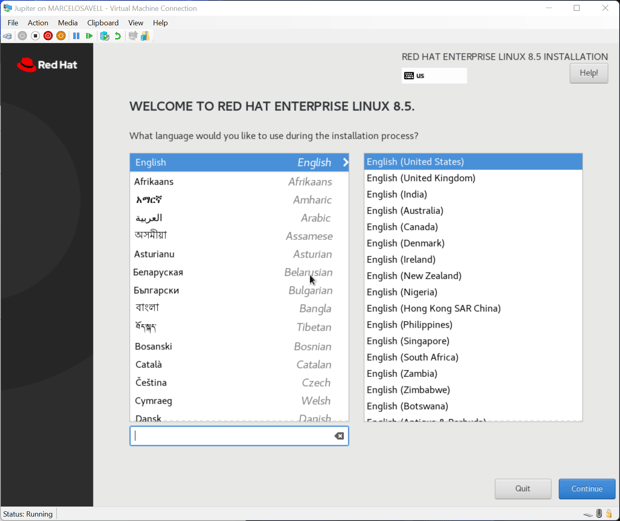
- Choose your preferred install language.
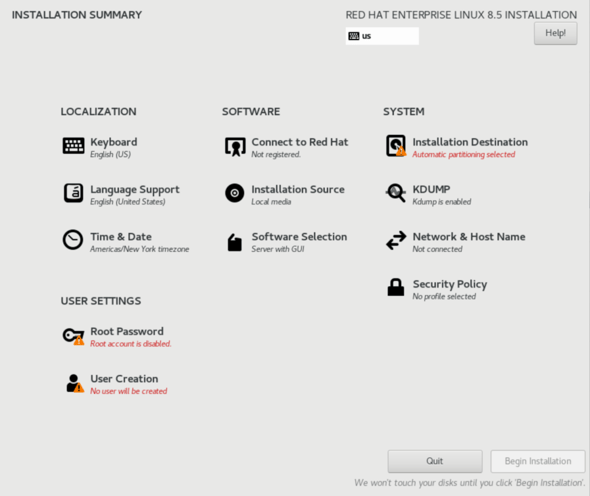
- Here’s what we want to adjust in this screen: Set Partitioning to Auto, disable Kdump, enable Network, set Root Password, create a user (in my case: bigdatadude). After we set all the desired settings, we can click Begin Installation.
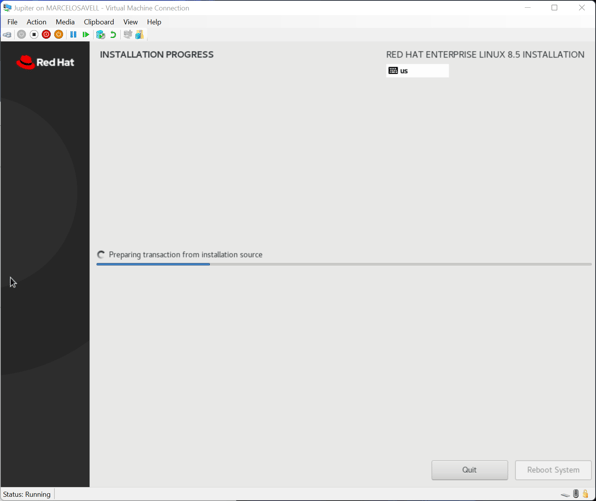
- It might take a while to complete the OS installation. After that, we’re OK to reboot.
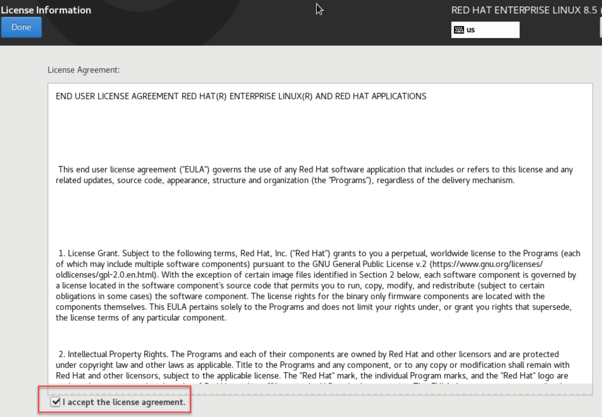
- In the Configuration phase you need to Accept the License terms (that you will probably not read).
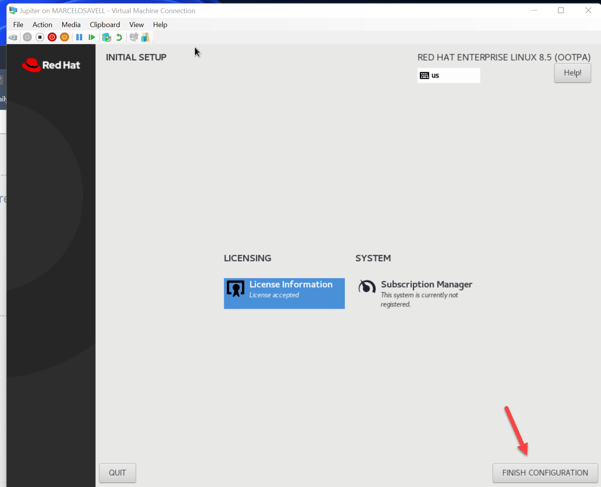
- After you’re done, hit Finish Configuration.
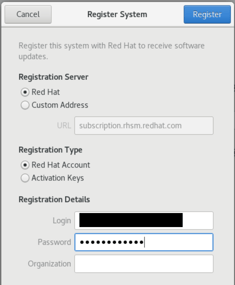
- You should definitely register the new VM with your Red Hat account, otherwise you won’t be able to download the necessary packages for the environment to work properly. Just click Register and add your username (NOT EMAIL) and password for your Red Hat account.
- At this point, we can ignore the next screens and don’t need to sign on to any other online account.
- Now we don’t need to use the GUI anymore. We can start using any Terminal-like app in Windows to interact with our VM. My choice is MobaXTerm (https://mobaxterm.mobatek.net/download.html).
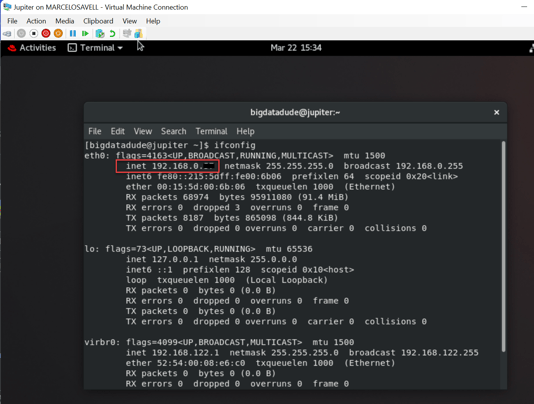
You will need to get the IP address for the VM you just installed though. You can do that by opening a terminal window and typing: “ifconfig”.
- MobaXTerm is very useful and has a very intuitive UI, as soon as you connect you’ll see a Windows Explorer-like side window (you can transfer files here if you’d like) and the main bash terminal where you can input the required commands.

In the next post we will install and configure the Postgres database, create a small dataset and install the Confluent required software for the Apache Kafka software to work. So stay tuned for updates!

